
Outfitting My New Room
Outfitting My New Room


A quick change
While l embraced the slow changes in my last apartment, I sprung into making things this time around. I told myself that I should let the space naturally evolve; that I should slowly discover what’s needed and explore many different iteration. But in the last few transitionary weeks living out of boxes, I felt impatient to feel as settled as soon as possible. Where as I took me months to find a good foundation for my previous room, I feel like I already taken a few bit steps in making the space functional, comfortable, and personal.
The Process
Weeks before I moved in, I began drafting some potential layouts in Figma to figure out where to put the the major pieces like the bed and the desk. After some iterations, I thought I had found the ideal layout well ahead of moving in. In practice however, I realized that I did not like sitting with my back to the door and rearranged the layout (fun fact; this realization hit my while I was already in bed and I leaped out of bed to rearrange the desk to the layout that worked better. I felt like I couldn’t wait to have things finalized).

I knew I would need a lot of shelving and began taping different places for shelves to scale. I got a much better idea of placement using the correct dimensions. I went through the trouble of lugging bundles of miscellaneous lumber in the move. After explaining the situation to my movers, they added “++ 20 planks wood 3–8’ variable, wood shelving disassembled, cpu mon +80cf” to my inventory. I quite enjoyed this shelving set that I made from found materials. The whole thing is made from a disassembled wooden ikea bed frame and slats that I found on the street and cost me $0 in materials.
After getting a good idea of the general placement, I began finding the studs in the wall and mapping more deliberate dimensions to ensure even spacing and alignment (my favorite part is how 4 of the shelving brackets align vertically at one point). At that point, the shelves went up quickly.
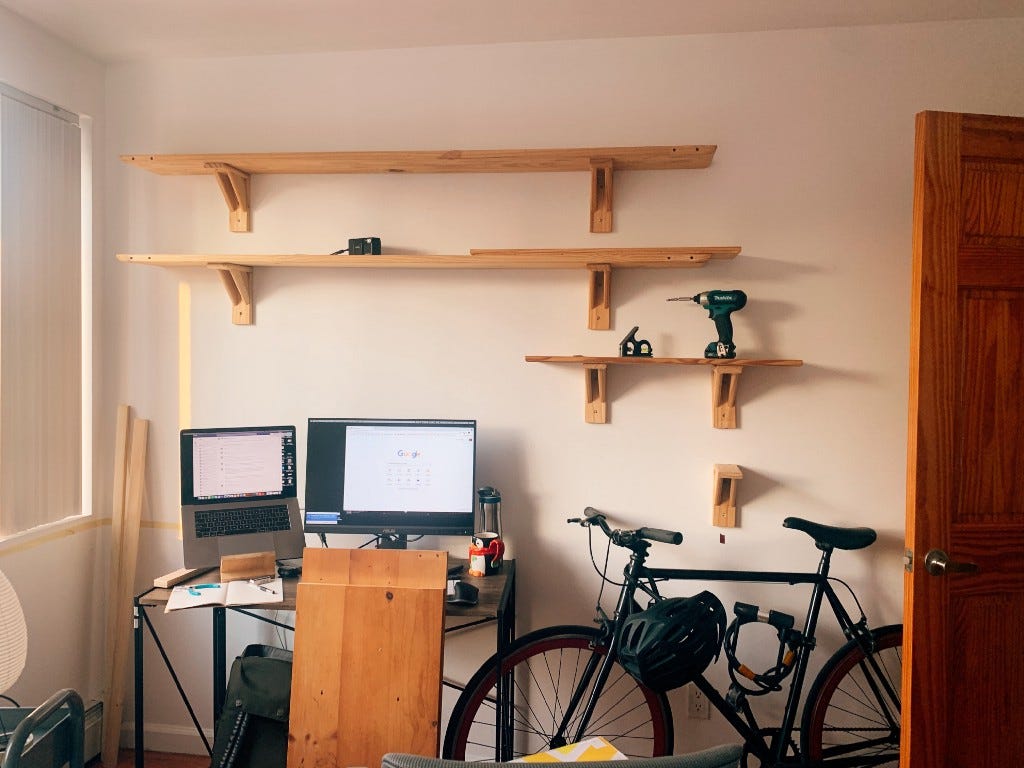
Next came the L shaped desk which ran along the window. I was quite excited about the possibilities of more working space, more display space, and something to double as a night stand. I was happy to have a wider board of 15" which was big enough to allow me to put many things from lamps, laptops, and plants on it. Underneath, I put even more shelving to act as much needed storage for more electronics and art supplies.
Where Things Are: A Little Tour~~
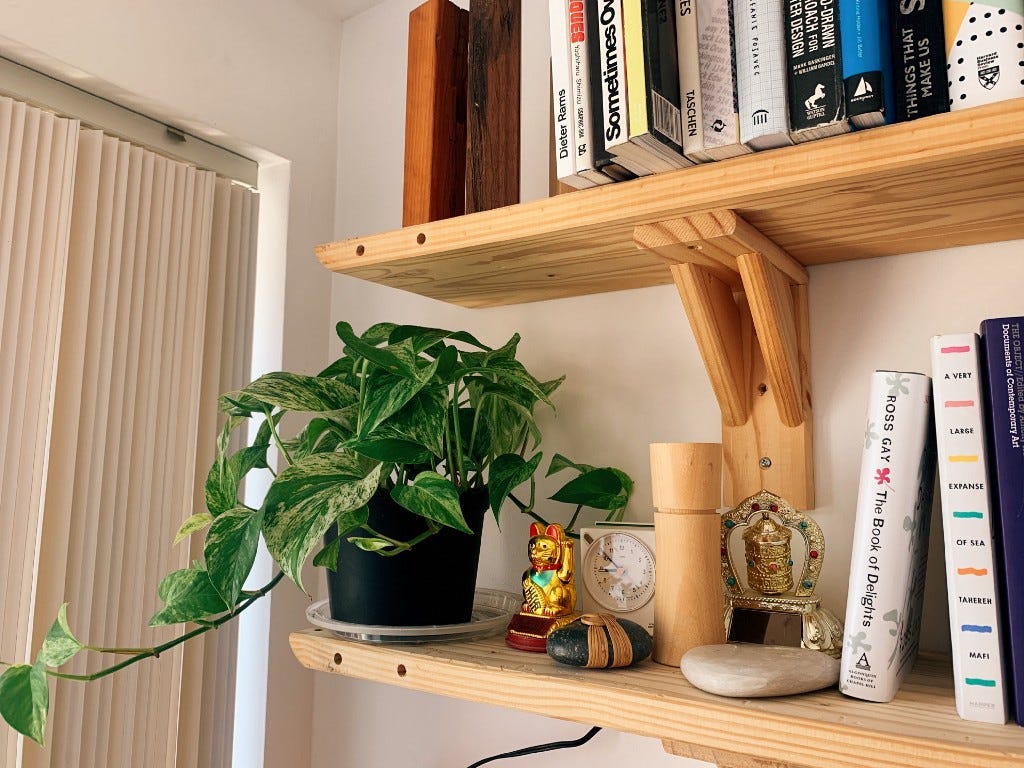
Here is a little tour of what I have set up so far. Starting from the top: I have 2 long shelves for books and other objects. I have gifts from friends, pieces from past projects, 3 different clocks, and other items that I’ve collected over the years.

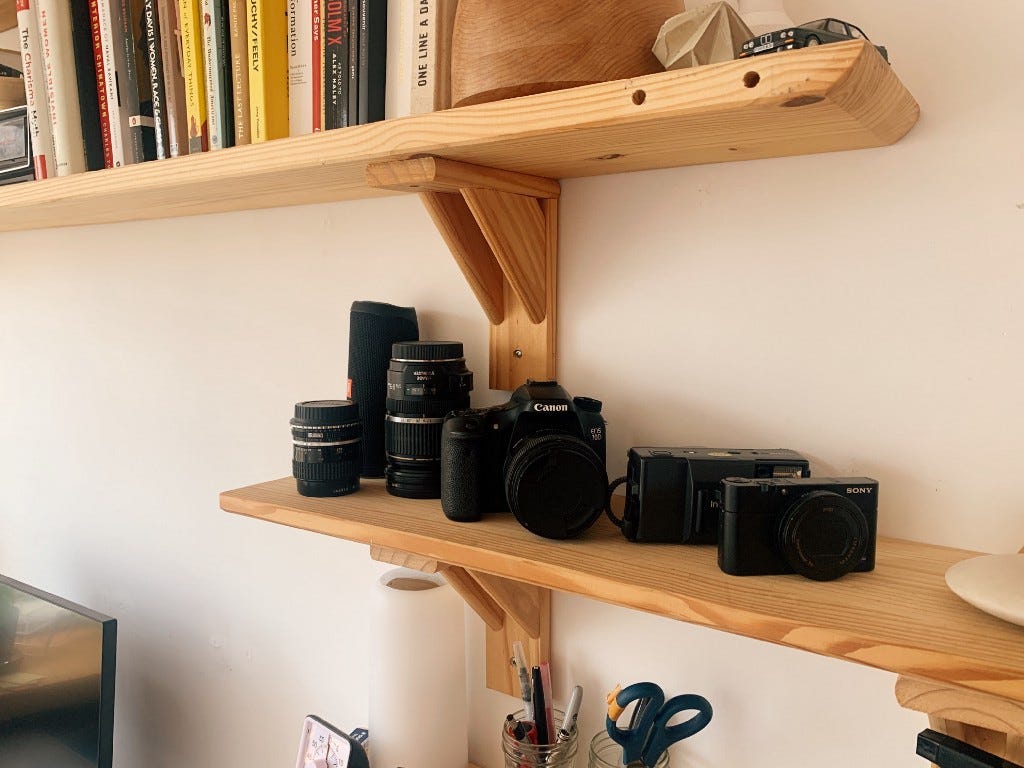
Moving lower, I have some smaller shelves closer in reach for practical items like camera equipment and stationary supplies.

On my desk, I have monitor and a laptop stand. I was ecstatic to find that the orange file divider that I found weeks ago on Craigslist fit perfectly by the window, framing the monitor area nicely. I’m leaving the area above the monitor empty for now as there’s enough vertical space for an adjustable standing desk to fit comfortably.

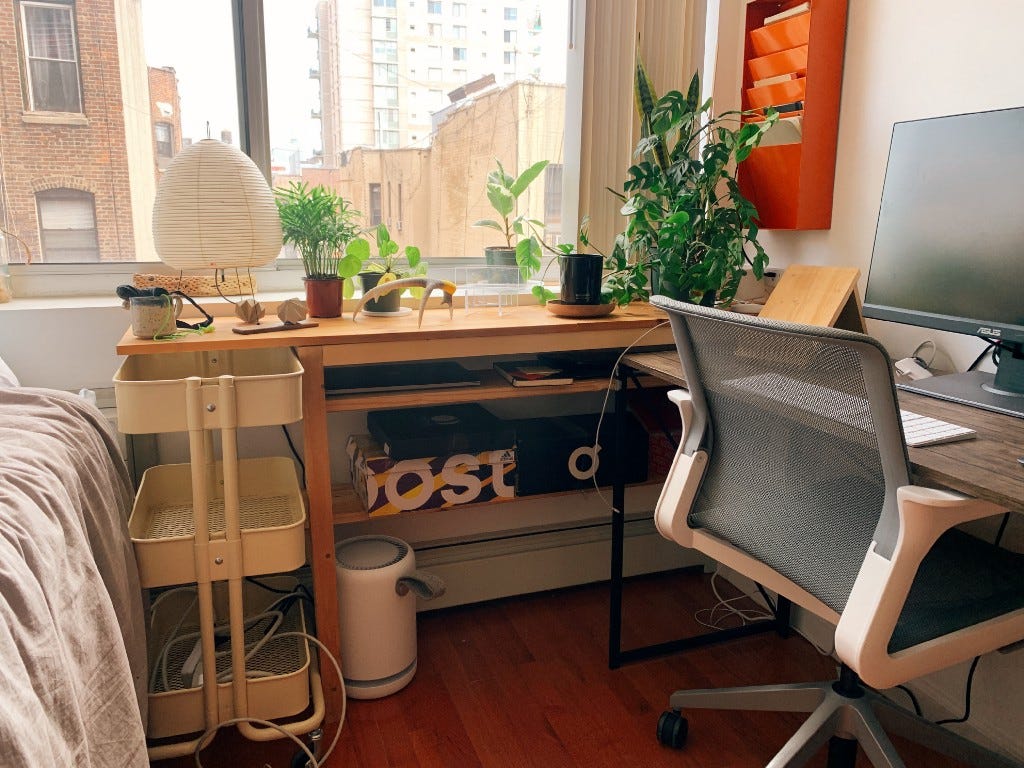
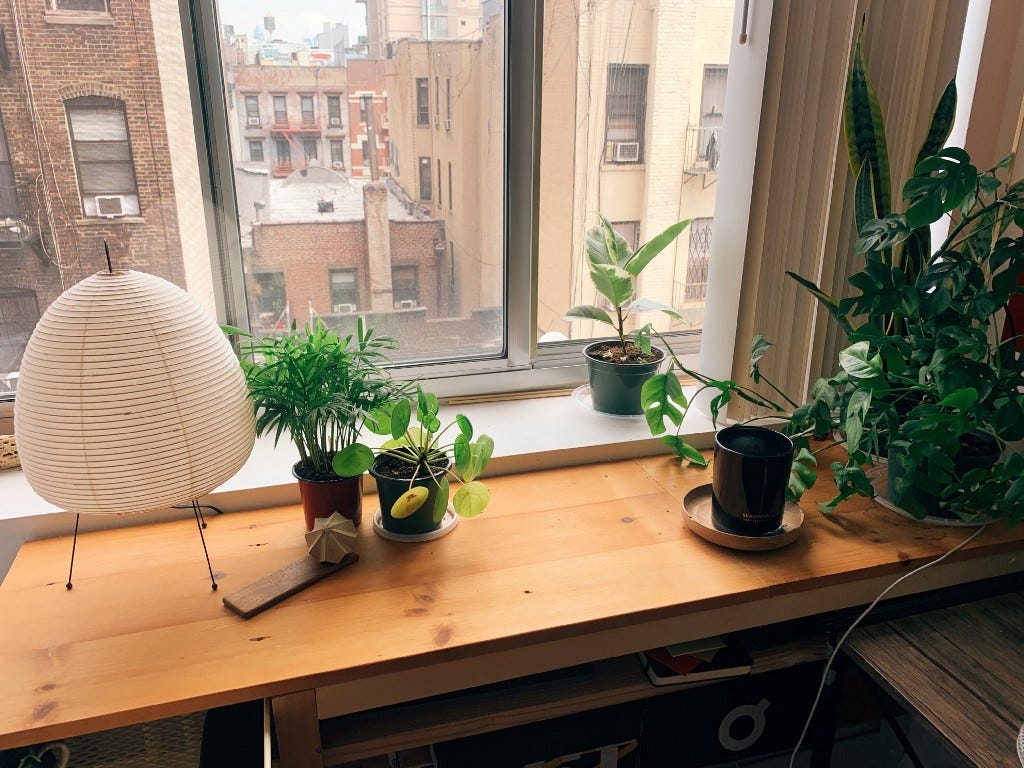
On the L desk by the window, I have a night stand side with a lamp, then the more ‘desk’ side with overflow from my main desk. For I give the space to hold many plants. Underneath there is space for me to happily store my work computer fully out of site and additional storage for extra supplies.

I’m pleased with the quick results. Although this week has been exhausting with the move and the labor of putting up everything in the room, it has been well worth the reduced anxiety that comes with transition and living out of boxes.